JavaScript DOM Manipulation Explained with Examples
Published November 9, 2026 · 14 min read
Every interactive website works the same way underneath: JavaScript finds something on the page and changes it. Menus that open, forms that show errors, items added to a cart: all of that is DOM manipulation.
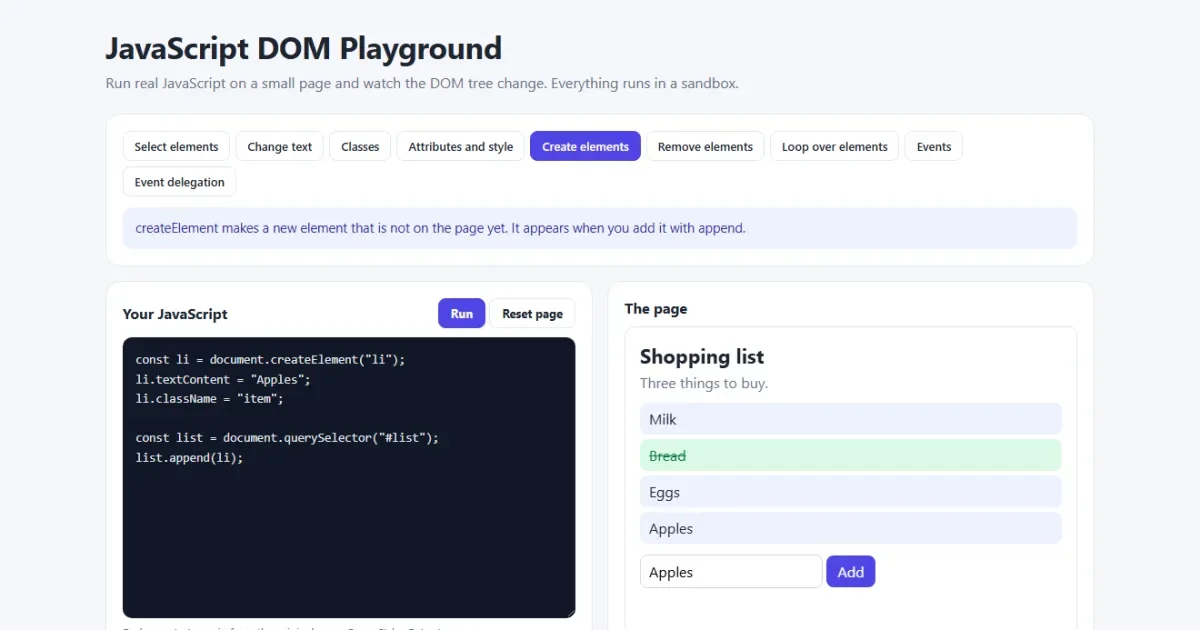
This guide teaches the handful of methods you'll use every day, then puts them together in a working to-do list. Every example runs in a live playground, so you can change the code and watch the page respond.
Open the DOM playground Run real JavaScript and watch the DOM tree change.
DOM methods cheat sheet
| To do this | Use |
|---|---|
| Find one element | document.querySelector(".box") |
| Find all matches | document.querySelectorAll(".box") |
| Change text | el.textContent = "Hi" |
| Change classes | el.classList.add("on") |
| Change an attribute | el.setAttribute("src", "a.png") |
| Change inline CSS | el.style.color = "red" |
| Create an element | document.createElement("li") |
| Add it to the page | parent.append(el) |
| Remove an element | el.remove() |
| React to a click | el.addEventListener("click", fn) |
What is the DOM?
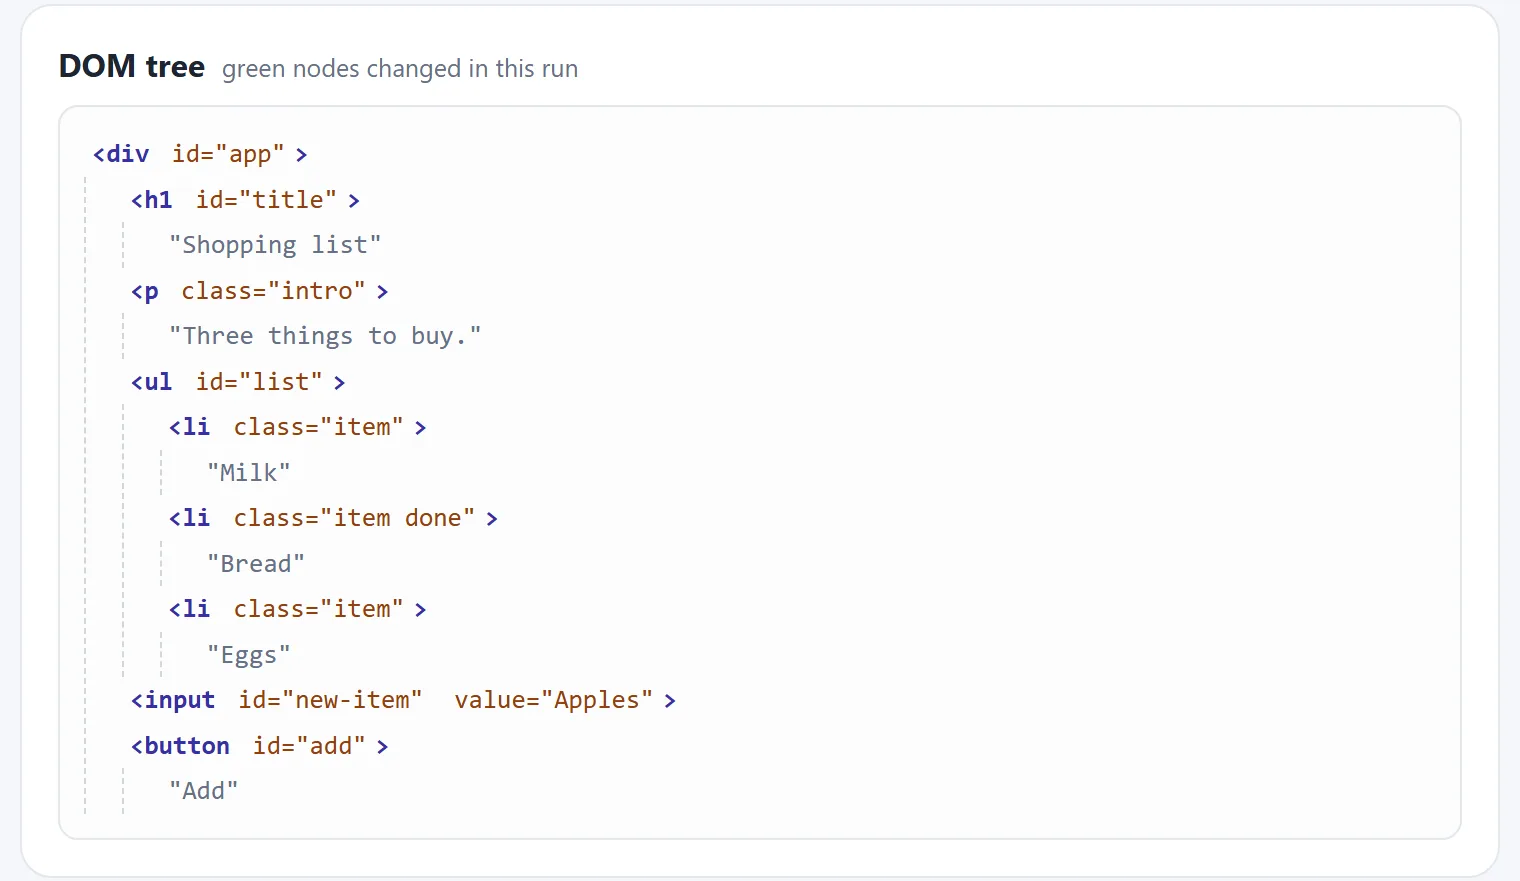
When a browser loads your HTML, it builds a tree of objects from it. That tree is the Document Object Model. Your HTML file is just the starting recipe. The DOM is the live page, and it's what JavaScript actually changes.
That's why “View Source” shows the original HTML, while the Elements tab in your browser's developer tools shows the current DOM with all of your changes.
Make sure your script can find the page
The browser builds the DOM from top to bottom. A script in the <head> runs before
the elements below it exist, so it finds nothing. Add defer and it waits until the page is
parsed:
<head>
  <script src="app.js" defer></script>
</head>
1. Select elements
const title = document.querySelector("#title");   // by id
const first = document.querySelector(".item");    // first with this class
const all   = document.querySelectorAll(".item"); // all with this class
const link  = document.querySelector("nav a");    // any CSS selector works
querySelector takes the same selectors you write in CSS and returns the
first match, or null if there's none. querySelectorAll
returns every match in a list.
You can also search inside an element, which is handy for repeated components:
const card = document.querySelector(".card");
const price = card.querySelector(".price");
You'll also see older methods such as getElementById and
getElementsByClassName. They still work, but querySelector covers them
all. Try selecting elements.
2. Change text and HTML
title.textContent = "My new list";                // plain text
box.innerHTML = "Only <strong>two</strong> left"; // parsed as HTML
Use textContent by default. It's safe, because whatever you give it is
shown as plain text. innerHTML builds real elements from the string, which is dangerous
with anything a user typed:
const name = '<img src="x" onerror="stealCookies()">';

el.innerHTML = name;   // the browser runs onerror: this is an XSS attack
el.textContent = name; // shown harmlessly as text
This is called cross-site scripting, or XSS. Only use innerHTML with strings you wrote
yourself. Compare them in the playground.
3. Add and remove classes
el.classList.add("active");
el.classList.remove("active");
el.classList.toggle("active");      // on if off, off if on
el.classList.contains("active");    // true or false
This is the best way to change how something looks. Keep the styling in your CSS, and let JavaScript only switch classes on and off:
/* CSS */
.menu { display: none; }
.menu.open { display: block; }

// JavaScript
button.addEventListener("click", () => menu.classList.toggle("open"));
Avoid assigning to className when you only want to change one class, because it replaces
all of them.
4. Attributes, styles and data
img.setAttribute("src", "photo.jpg");
img.getAttribute("src");
img.removeAttribute("hidden");

input.value = "";                 // what is in the box right now
title.style.backgroundColor = "gold";  // camelCase, not background-color

card.dataset.price = "20";        // same as data-price="20"
console.log(card.dataset.price);  // "20", always a string
Note that style only reads inline styles. To find an element's real, final style from all
your CSS, use getComputedStyle(el).color.
5. Create and add elements
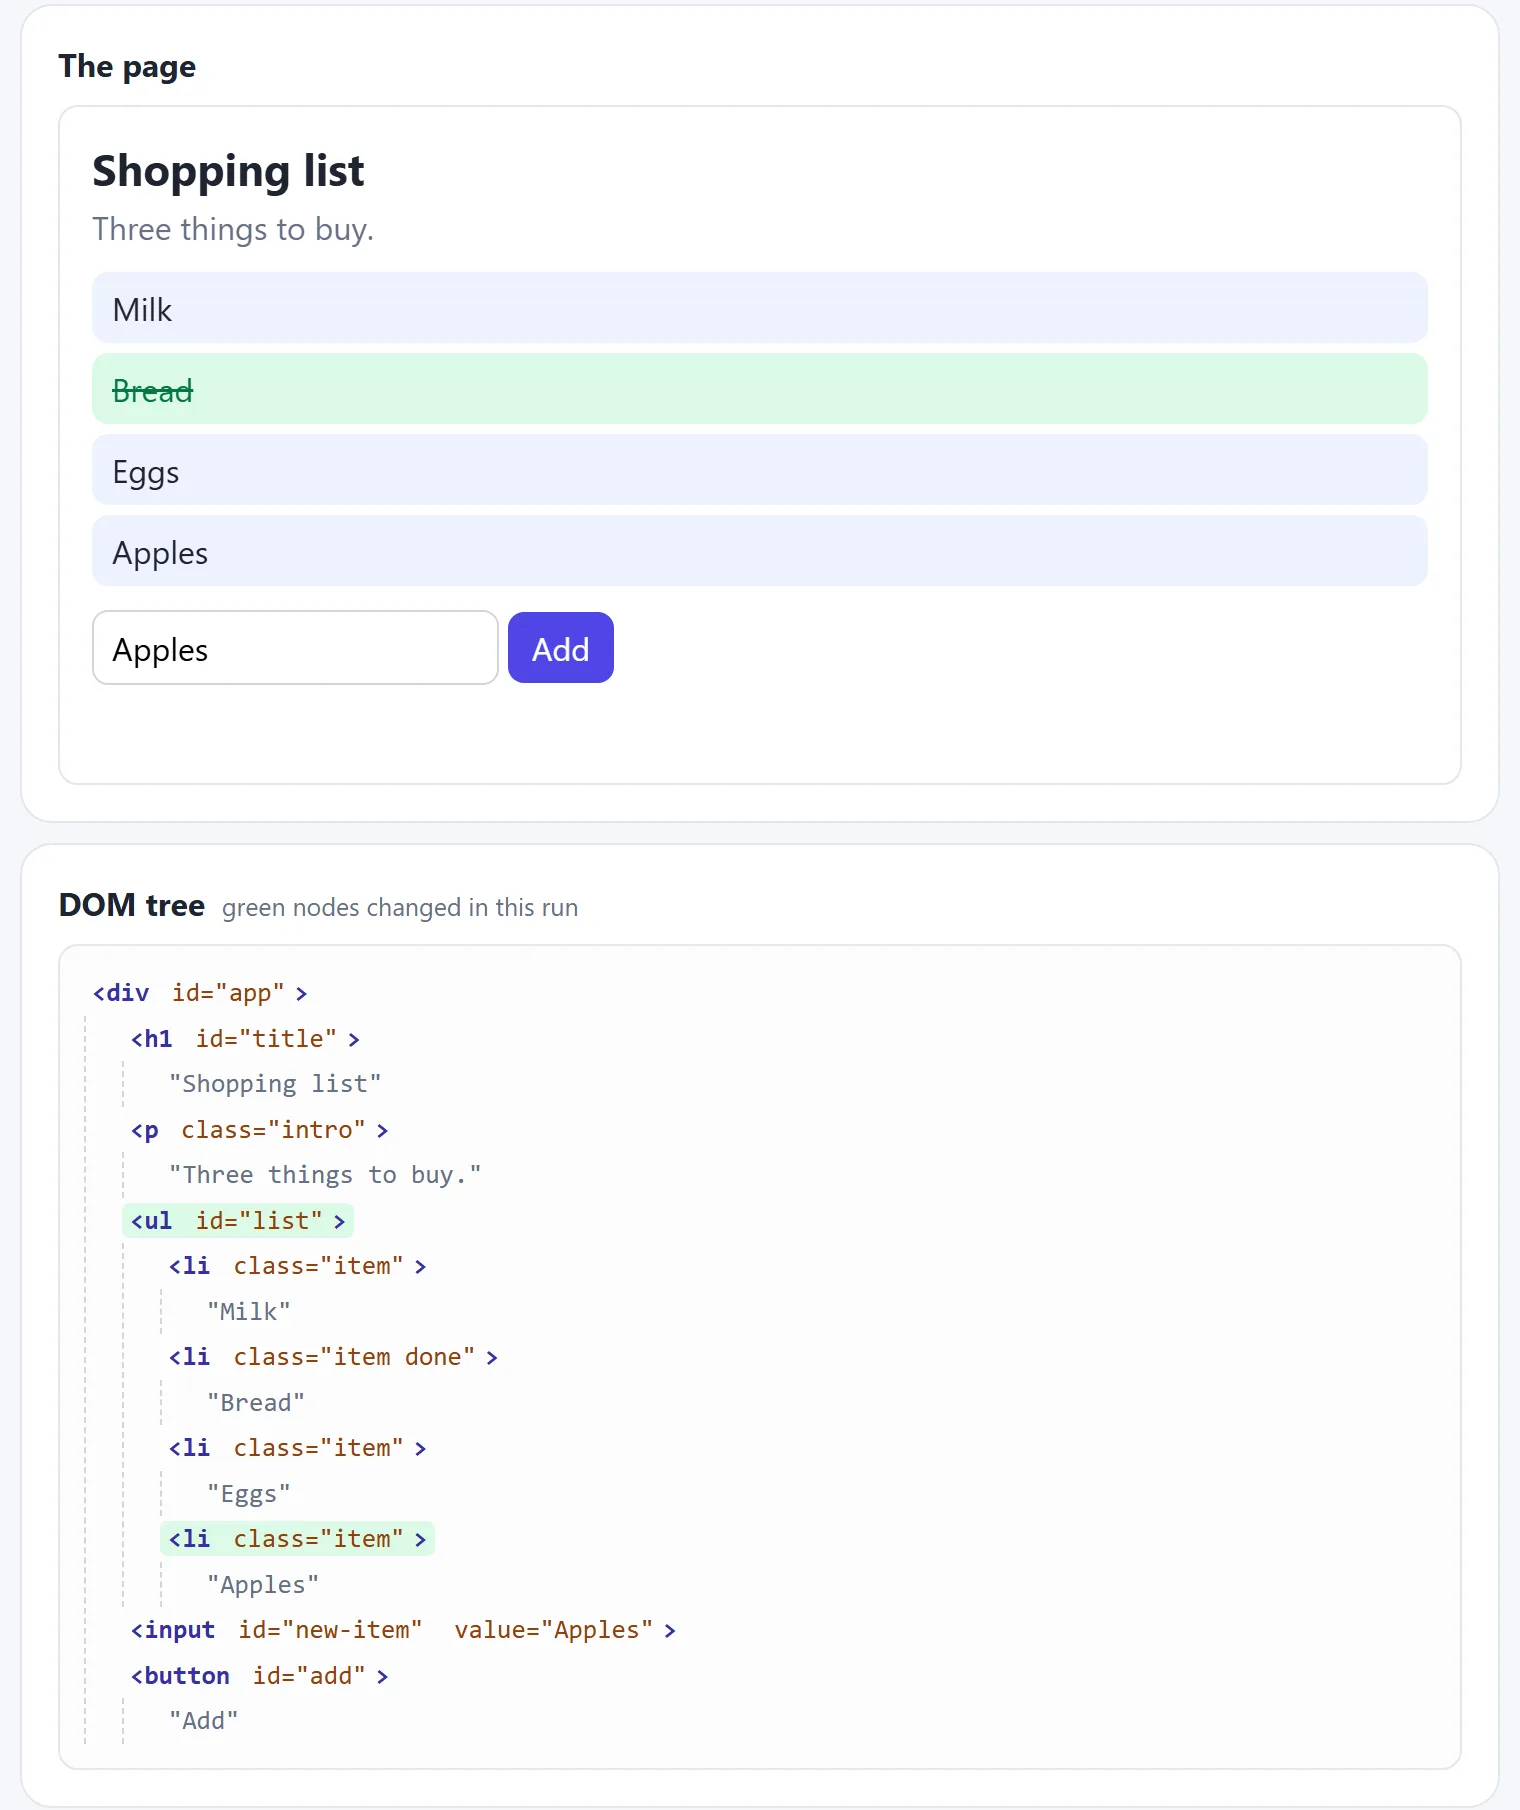
const li = document.createElement("li");   // exists, but not on the page
li.textContent = "Apples";
li.className = "item";

const list = document.querySelector("#list");
list.append(li);                           // now it is on the page
There are several places you can put it:
list.append(li);          // last child
list.prepend(li);         // first child
first.before(li);         // just before another element
first.after(li);          // just after another element
An element can only be in one place. Calling append on something already on the page
moves it. Create one yourself.
When you add many elements at once, build them in a
DocumentFragment and add that once, so the browser only updates the page one time:
const fragment = document.createDocumentFragment();

for (const name of ["Tea", "Rice", "Salt"]) {
  const li = document.createElement("li");
  li.textContent = name;
  fragment.append(li);
}

list.append(fragment);
6. Remove elements
el.remove();                  // remove this element
list.replaceChildren();       // remove everything inside the list
7. Loop over elements
const items = document.querySelectorAll(".item");

items.forEach((item) => item.classList.add("seen"));

for (const item of items) {
  console.log(item.textContent);
}

// a NodeList has no map or filter, so make an array first
const names = Array.from(items).map((item) => item.textContent);
You can't set a property on the whole list. items.textContent = "x" does nothing useful,
because the list isn't an element. Loop over it. If you're not sure about map, see our
guide to map, filter and reduce.
8. Respond to events
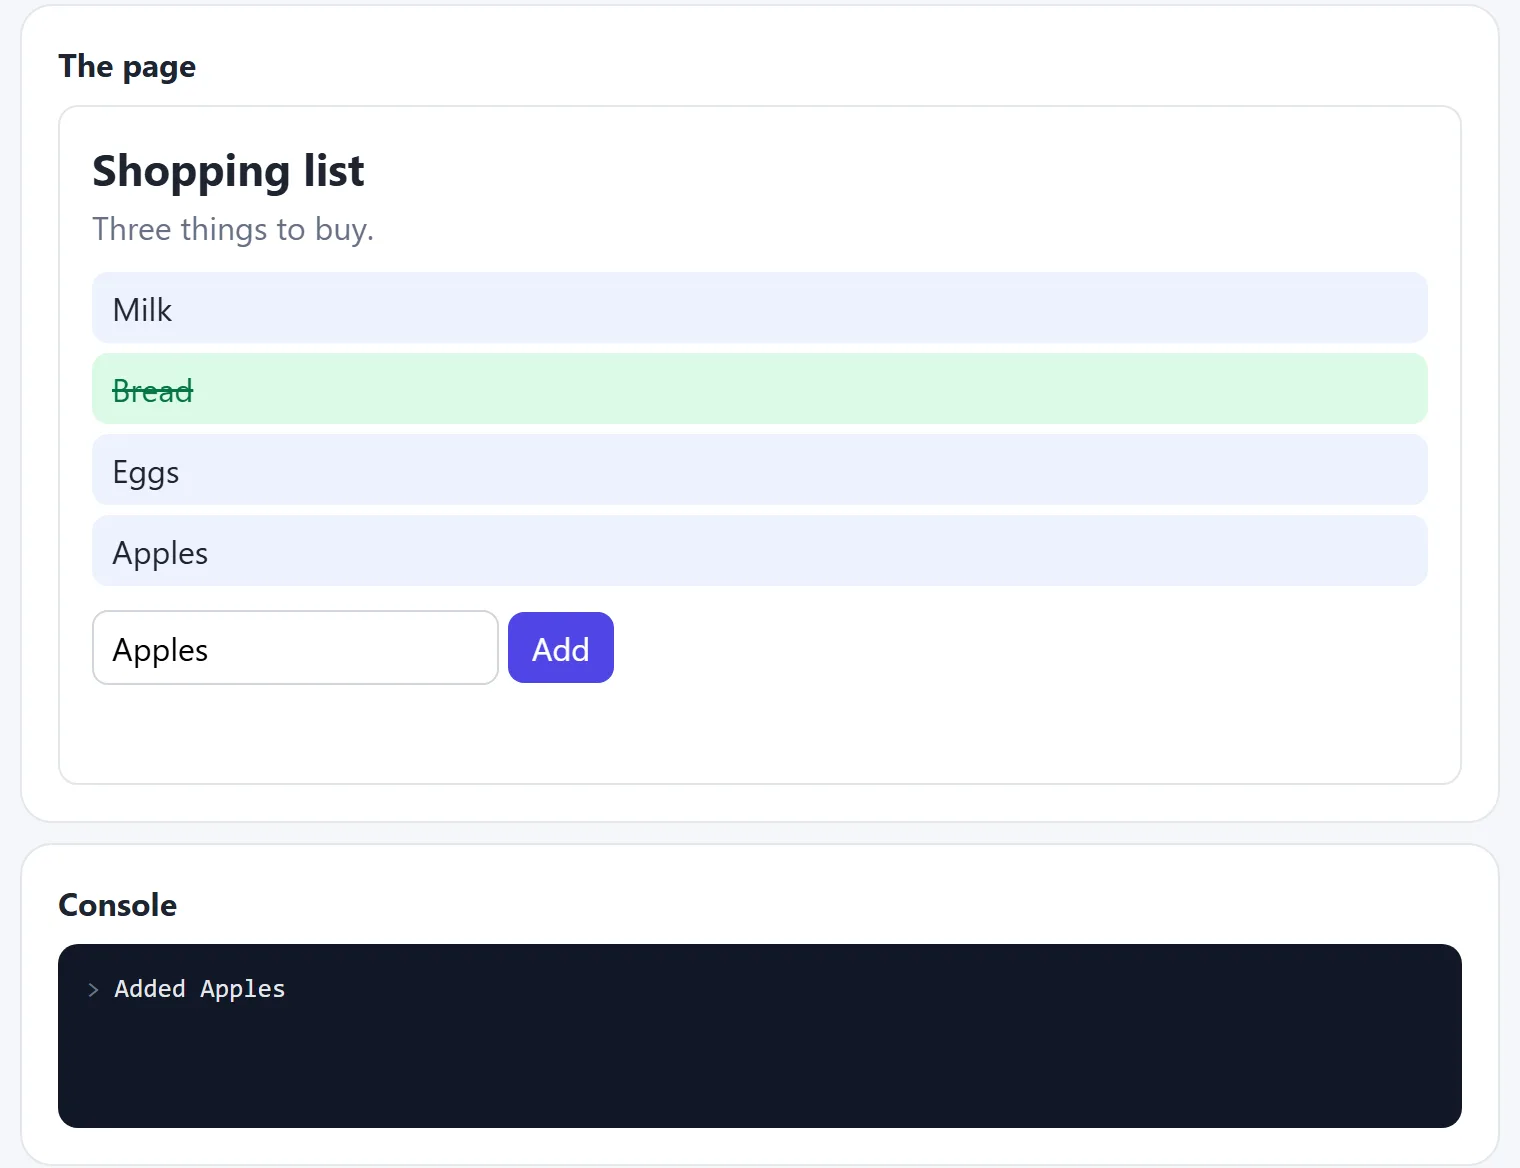
button.addEventListener("click", () => {
  console.log("Clicked!");
});
You hand the browser a function, and it runs that function whenever the event happens. Pass the
function itself, without brackets. addEventListener("click", save()) runs
save immediately, once.
| Event | Fires when |
|---|---|
click | An element is clicked or tapped |
input | The value of a field changes |
change | A field is changed and committed |
submit | A form is submitted |
keydown | A key is pressed |
scroll | The page or element scrolls |
Your function receives an event object with details of what happened:
form.addEventListener("submit", (event) => {
  event.preventDefault();          // stop the page from reloading
  console.log(event.target);       // the element the event happened on
});

document.addEventListener("keydown", (event) => {
  if (event.key === "Escape") closeMenu();
});
Try it, then click Add in the page yourself.
9. Event delegation
Events bubble: a click on a list item also fires on its parent, then on the parent's parent, all the way up. That lets you use one listener on the parent instead of one on every item:
list.addEventListener("click", (event) => {
  const item = event.target.closest("li");
  if (!item) return;
  item.classList.toggle("done");
});
event.target is the exact element clicked, and closest walks up to the
nearest match. This has a big advantage: it also works for items added later. A
listener attached to each item wouldn't reach new ones.
See delegation working.
Put it together: a to-do list
This small project uses nearly everything above. Save the two parts in one page to try it.
<form id="todo-form">
  <input id="todo-input" placeholder="Add a task" required>
  <button>Add</button>
</form>
<ul id="todo-list"></ul>const form = document.querySelector("#todo-form");
const input = document.querySelector("#todo-input");
const list = document.querySelector("#todo-list");
form.addEventListener("submit", (event) => {
event.preventDefault();
const li = document.createElement("li");
const label = document.createElement("span");
label.textContent = input.value;
const remove = document.createElement("button");
remove.type = "button";
remove.className = "delete";
remove.textContent = "Delete";
li.append(label, remove);
list.append(li);
form.reset();
input.focus();
});
list.addEventListener("click", (event) => {
const item = event.target.closest("li");
if (!item) return;
if (event.target.closest(".delete")) {
item.remove();
} else {
item.classList.toggle("done");
}
});Notice the use of textContent for what the user typed, so a task can't inject HTML, and
one delegated listener for every task, including future ones. Add
.done { text-decoration: line-through; } to your CSS to see completed tasks.
Common mistakes
- “Cannot read properties of null”. Your selector found nothing. Check
the spelling, the
#or., and that the script runs after the element exists. - Forgetting the dot or hash.
querySelector("item")looks for an<item>tag. You want".item". - Treating a list as one element. Use
forEachon the result ofquerySelectorAll. - Calling the function when adding a listener. Write
save, notsave(). - Using
innerHTML +=to add content. It rebuilds everything inside the element, which removes existing listeners and clears typed input. Useappend. - Putting user input in
innerHTML. This opens the door to XSS. - Forgetting
preventDefaulton a form. The page reloads and your work disappears.
Try it in the playground
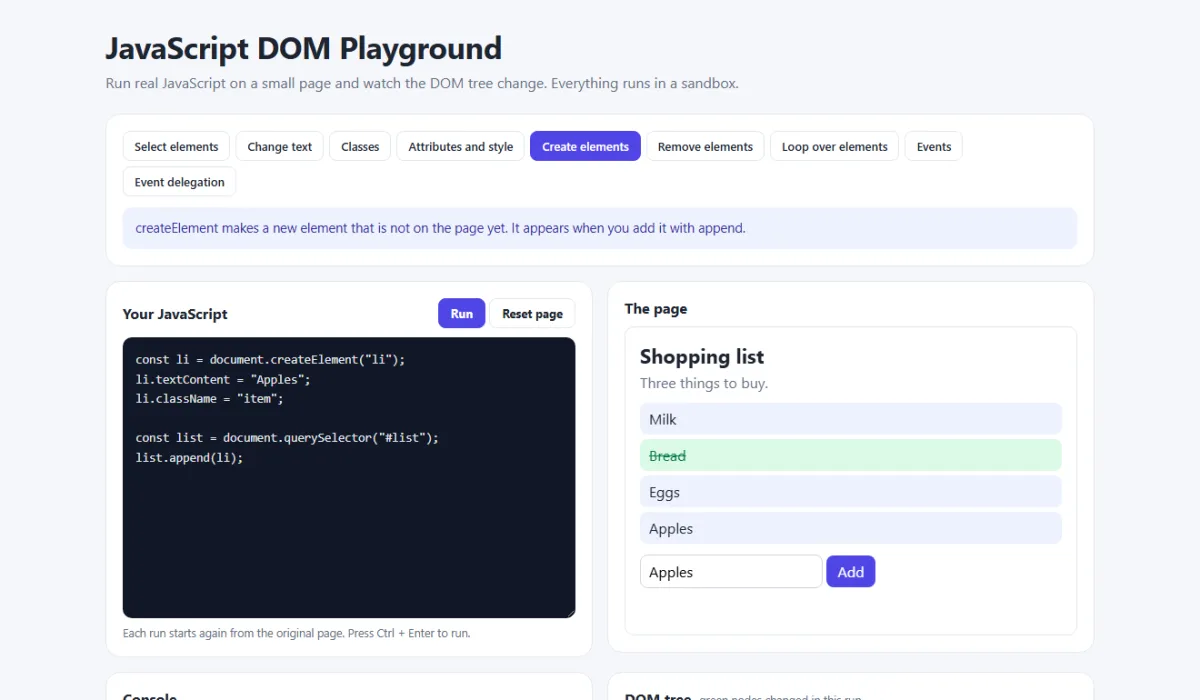
In the DOM playground, your code runs on a real page in a sandbox, and the changed nodes turn green in the tree. Try these:
- Make the “Create elements” example add three items using a loop.
- Change
.itemtoitemin the first example and read the result. - In the “Event delegation” example, run the code and click each item in the page.
Share your code
Built something or got stuck? Share it with the free code sharing tool, or share the error message as a link. No account needed.
Frequently asked questions
What is the DOM in JavaScript?
The DOM, or Document Object Model, is the browser's live version of your HTML page, stored as a tree of objects. JavaScript can read and change those objects, and the page on screen updates to match.
What is the difference between querySelector and getElementById?
getElementById only finds an element by its id. querySelector accepts any CSS selector, so it can find elements by id, class, attribute or position. Both return one element, or null if nothing matches.
What is the difference between textContent and innerHTML?
textContent treats the value as plain text. innerHTML reads the value as HTML and creates elements from it. Never put user input into innerHTML, because it can run malicious code. Use textContent instead.
Why does querySelector return null?
Either the selector does not match anything, or your script ran before the element existed. Check the selector for typos, and add defer to your script tag so it runs after the page is parsed.
Why can I not use map on querySelectorAll?
querySelectorAll returns a NodeList, which has forEach but not map or filter. Convert it first with Array.from(list) or [...list].
What is event delegation?
Event delegation means adding one listener to a parent element instead of one on each child. Clicks bubble up to the parent, and event.target tells you which child was clicked. It also works for children added later.
Related articles
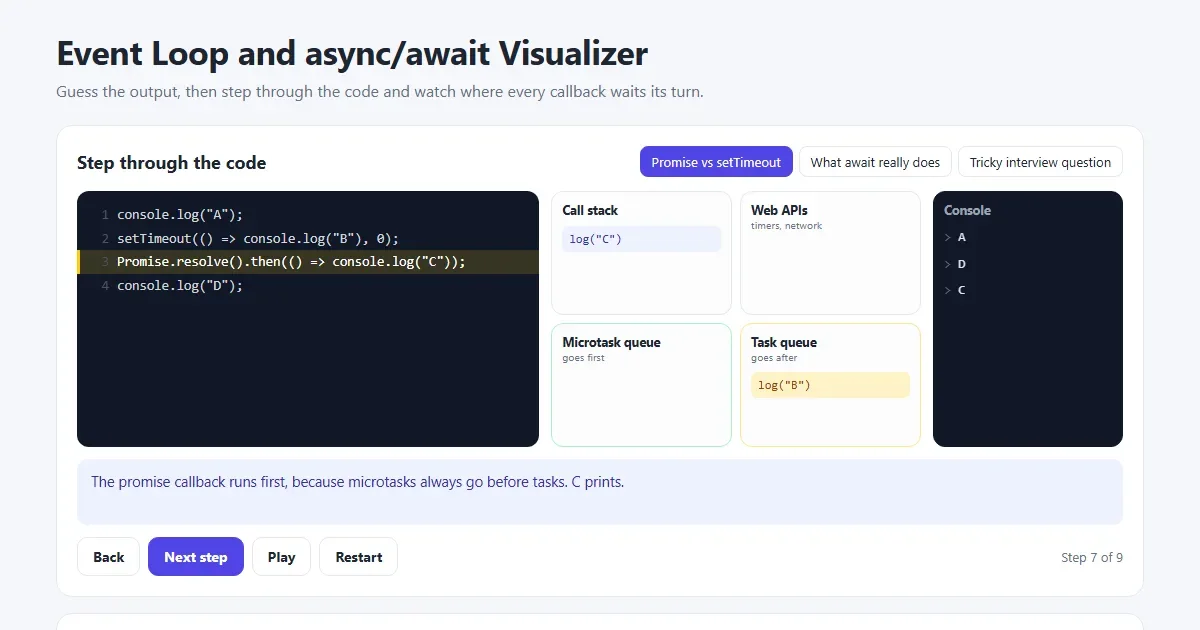
JavaScript Promises and async/await Explained with Examples
Why setTimeout 0 runs last, what await really does, the event loop, fetch, try/catch and Promise.all, with a visualizer that shows every step.
Read More →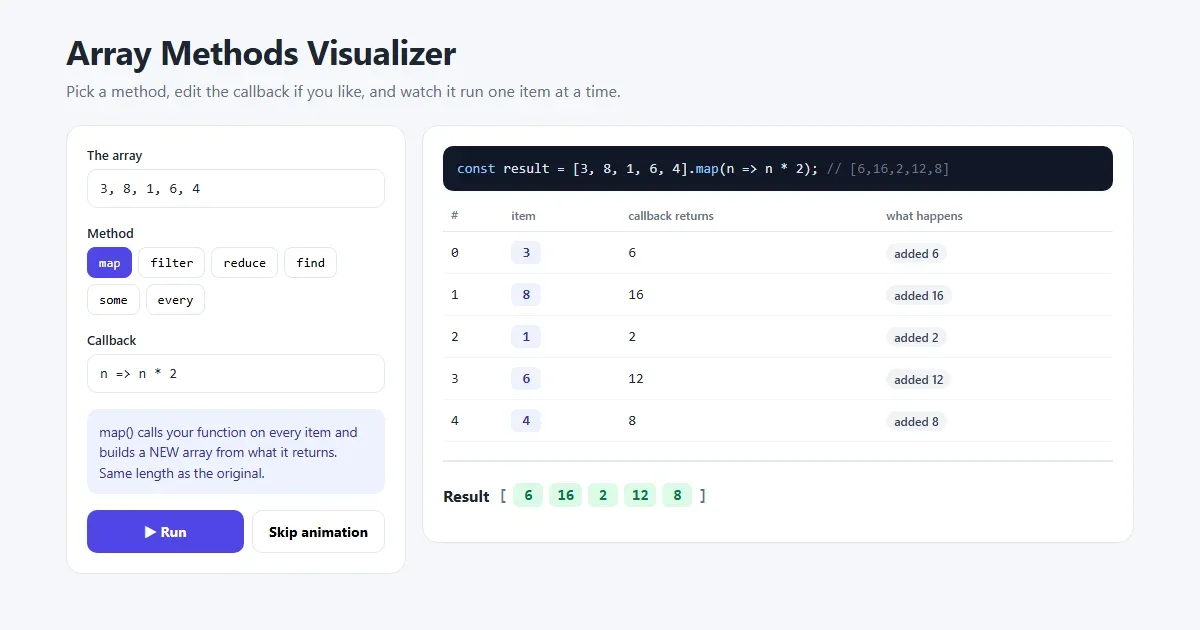
JavaScript map(), filter() and reduce() Explained with Examples
The three array methods you will use every day, explained step by step with pictures and real examples, plus find(), some(), every() and chaining.
Read More →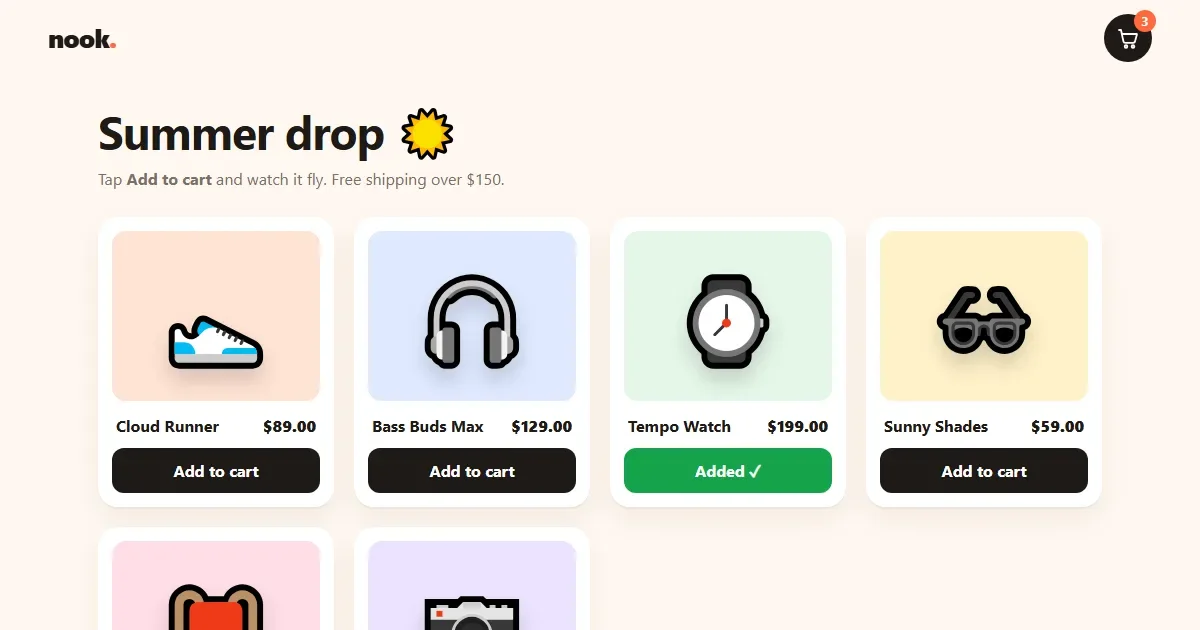
How to Build an Add to Cart Animation and Shopping Cart with HTML, CSS and JavaScript
Products that fly into the cart in an arc, a slide-out cart drawer, a free shipping progress bar, counting totals and a delivery truck checkout button.
Read More →