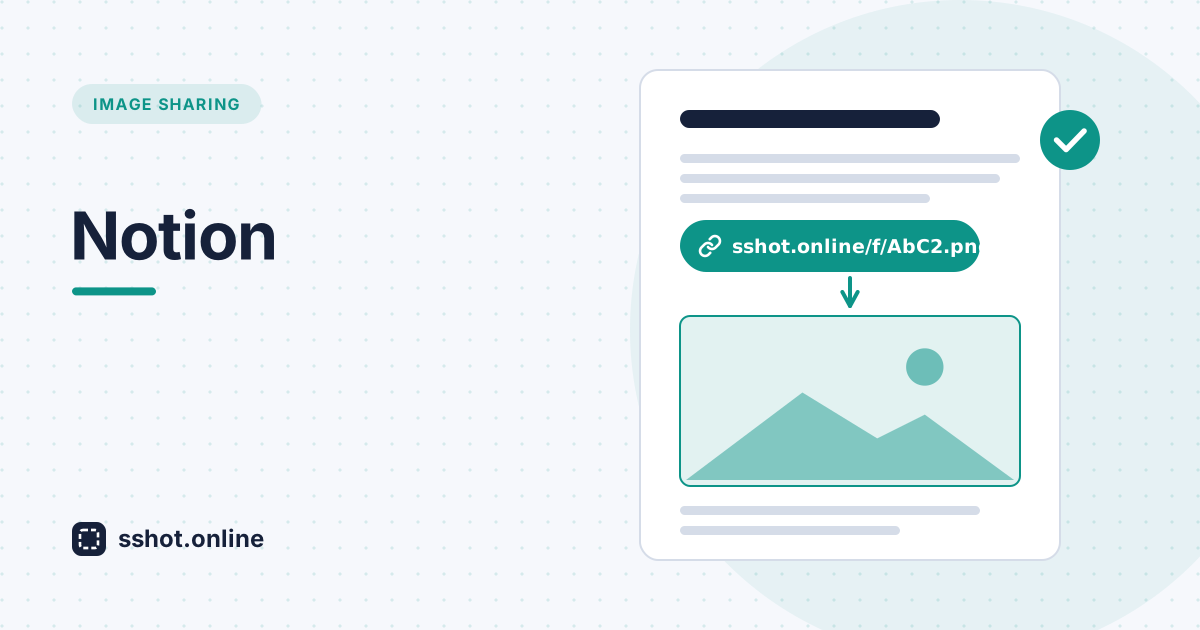
Notion lets you upload images directly, but embedding by link has real advantages: your pages stay lighter and load faster, and one image can be reused across several pages without uploading it again. To do that you need a direct image link. Here is how to get one and drop it in.
Upload vs. embed-by-link
A direct Notion upload stores the file inside your workspace. An embed-by-link points Notion at an image hosted elsewhere. For screenshots you reference in more than one place — a style guide, a runbook, a shared wiki — the link method avoids duplicate uploads and keeps everything pointing at a single source.
Get your direct image link
- Open the upload-image-get-link tool and paste or drop your screenshot.
- Copy the direct image link — the one that points straight at the image file.
Embed it in Notion
- In your Notion page, type
/imageand choose Embed link (not Upload). - Paste the direct image link and confirm.
Notion renders the image inline, and you can resize it like any other block. The same technique works for embedding a screenshot in Markdown docs, since both just need a plain image URL.
Good to know
- The image stays at a stable URL, so the same link works across every page you paste it into.
- Use the direct link, not the share link — the share link opens a framed page, which Notion will treat as a bookmark rather than an inline image.
- It is free and needs no account, so there is nothing to log into when you just want a quick embed.